


- Add all of the ingredients (except the cornmeal) into a large bowl and mix. I use a wooden spoon handle or my hands to mix well. Cover and let rest for 30-60 minutes. Then turn the dough out onto a floured surface and knead for 5 minutes.
- Place the dough back in the bowl, cover it and allow it to ferment at room temperature for 10-14 hours (overnight works best)
- After the fermentation period, turn the dough out onto a floured surface. Sprinkle with a little bit of flour to help with sticking while you roll it out or press it out with your fingertips. You want to get the dough to about ½ inch thick.
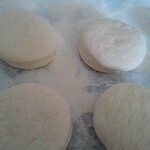
- Grab a cookie sheet and parchment paper. Sprinkle it with cornmeal. Use a 3-inch biscuit cutter (or a wide mouth jar lid) to cut your round muffins out and place them on parchment paper. Then sprinkle the tops with cornmeal and cover them with a towel. Let them rise for 1 hour.
- Grab your cast iron skillet(or a non-stick skillet) and heat it over LOW heat. Place 4 muffins into the skillet about 2 inches apart, cover, and cook about 3-4 minutes per side.


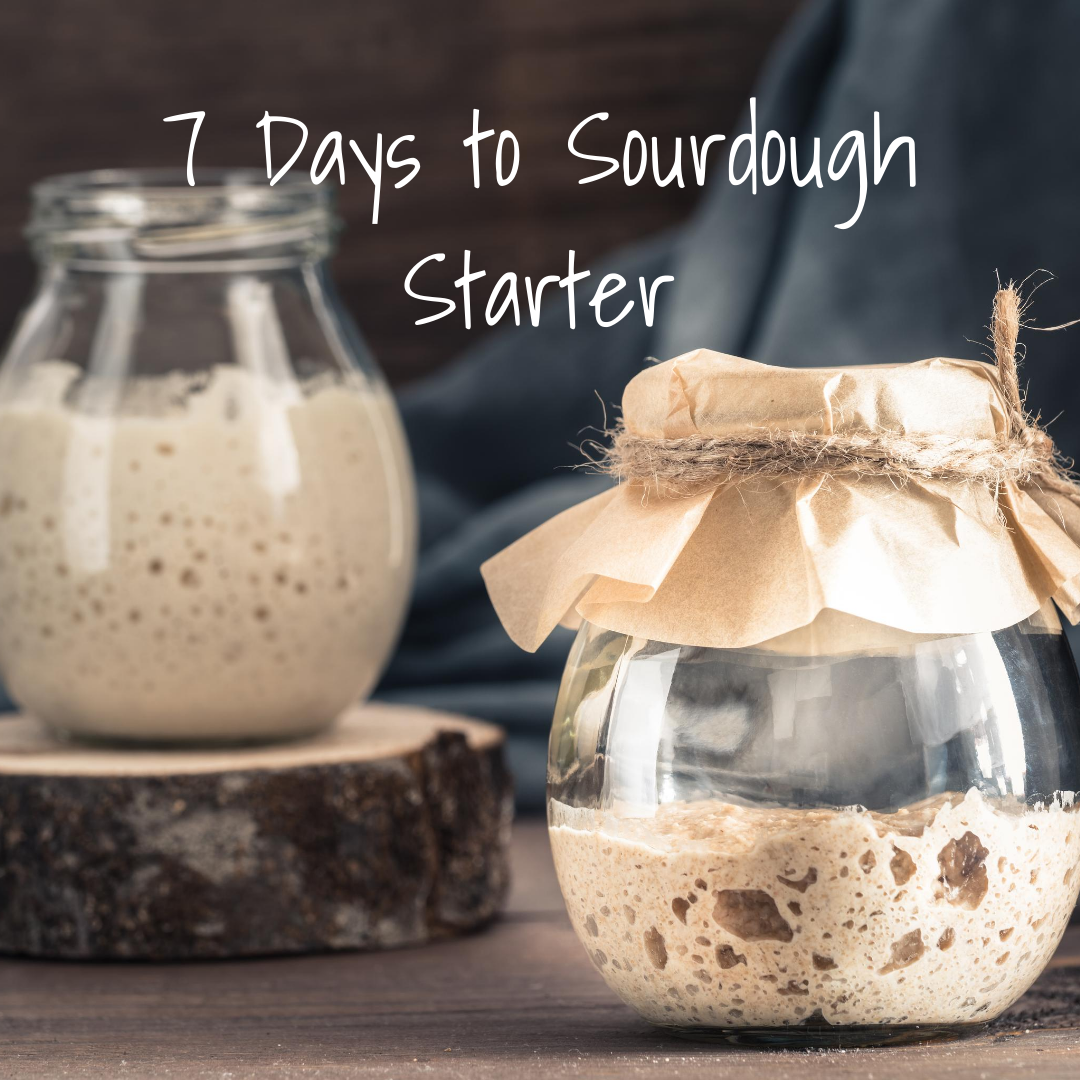
7 Days to a Sourdough Starter
Sourdough is a healthier option for all my bread loving friends. It is oddly satisfying to make it completely from scratch as well. Bonus it’s really not hard- lol!
Contrary to popular belief, starting your own sourdough is relatively easy.
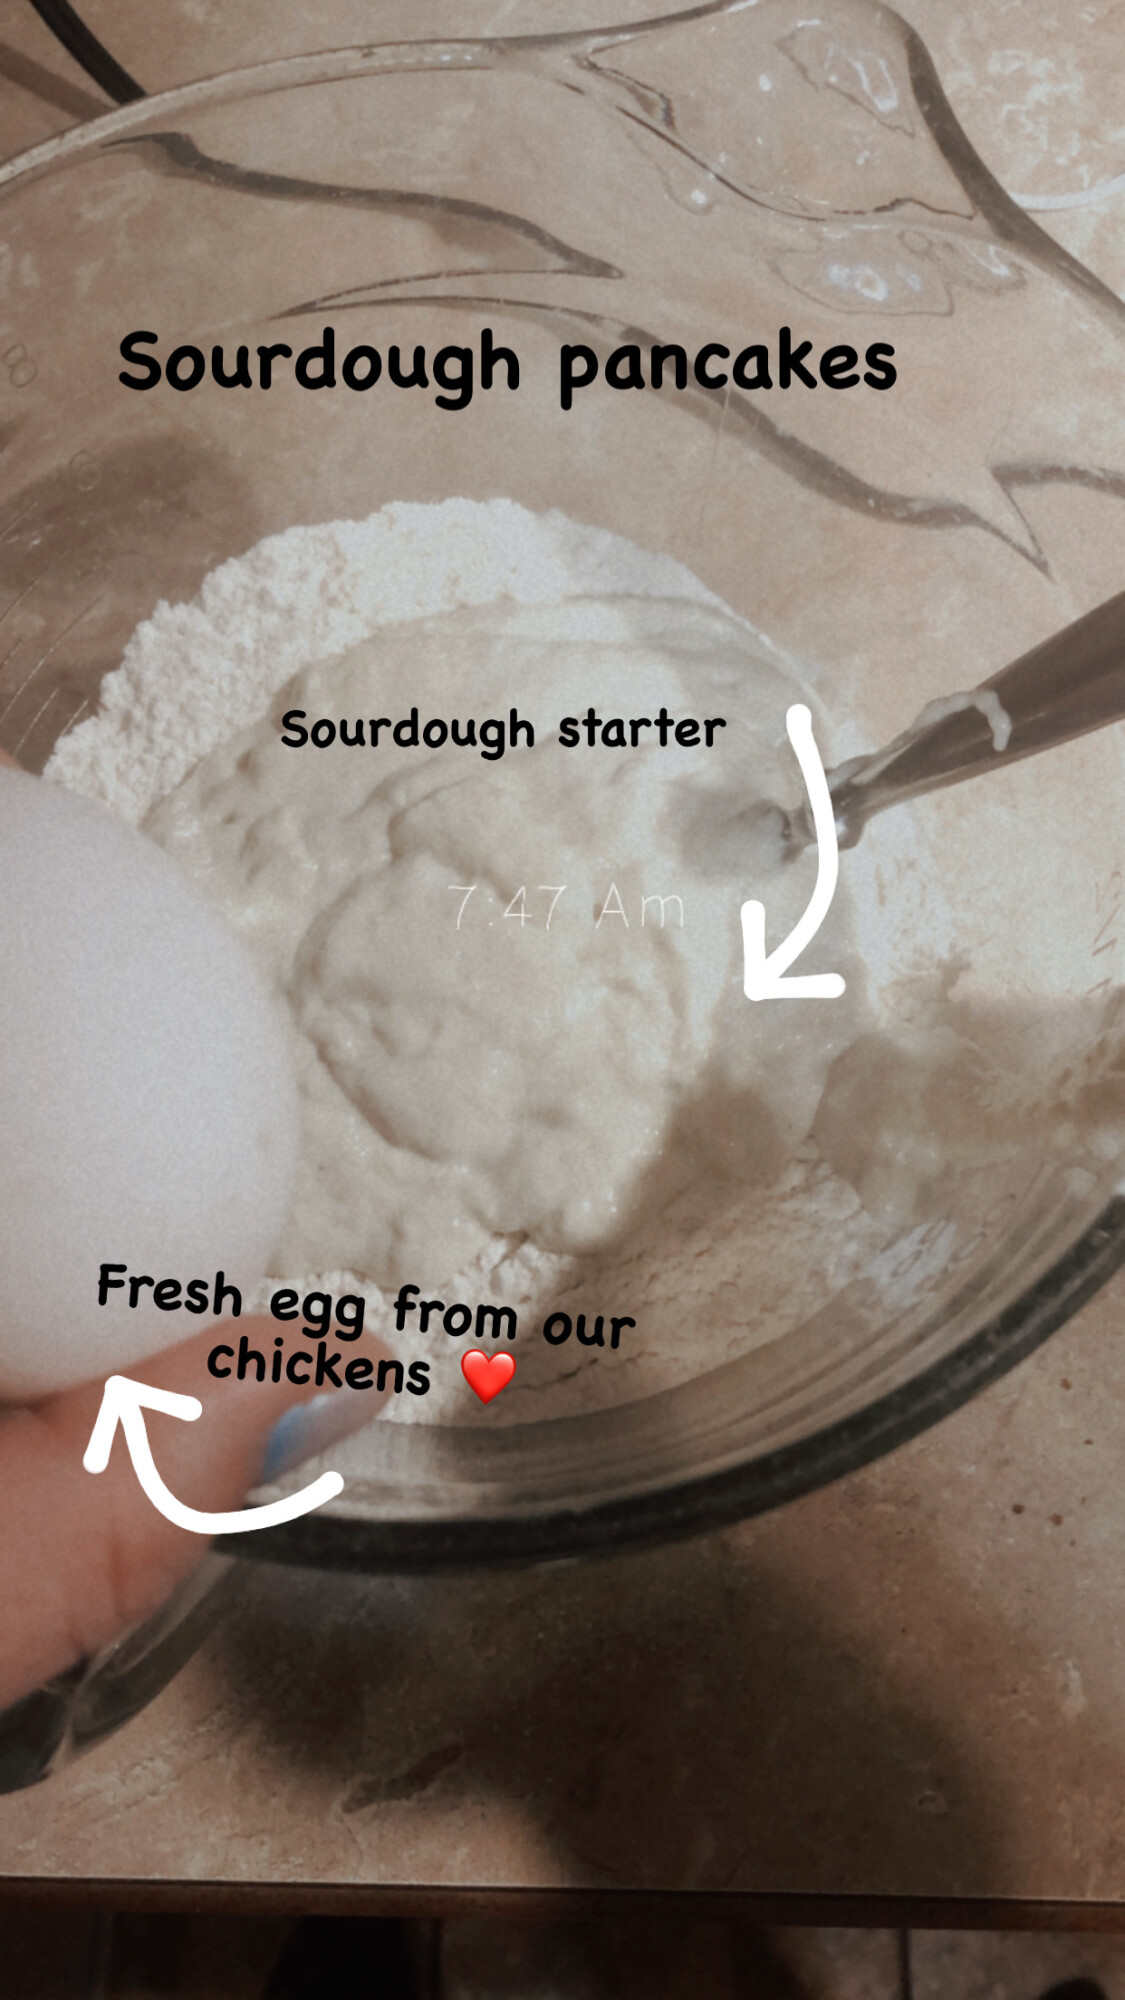
First select a high protein flour, around 12 grams of protein is a good number. I personally use King Arthur unbleached, unbrominated, non-GMO flour. It has 11 grams of protein and none of the yuck!
You will also want good water. I use reverse osmosis water but you could use distilled or Berkey water too.
Then grab a kitchen scale. Weighing out your ingredients is the best way to have the perfect amount of everything you need and get the best sourdough starter started.
Day 1 is simple
Measure out 4 oz of water and 4 oz of flour.
Mix them together in a 1/2 gallon mason jar covered.
Store above the refrigerator.
Allow to sit undisturbed until day 2
Day 2
Grab your mason jar!
Is yours starting to bubble?
You might not notice too much yet but you will!
Today you will be adding:
4 oz water & 4 oz flour
Mix it well.
Cover and store above the refrigerator.
Day 3
Here we go again!
Add:
4 oz of water & 4 oz of flour
Mix together, cover and store above the fridge
Day 4
Add:
4 oz water
4 oz flour
Mix well, cover, and store above the fridge.
How is your starter looking? Do you see some growth?
Day 5
Grab your scale!
Add:
4 oz water
4 oz flour
Mix it up, cover it, and place it above the fridge or warm area fermentation.
Day 6
Add:
4 oz water
4 oz flour
Mix it up, cover it and store it in a warm area (above the fridge works well)
You should be noticing some growth and lots of bubbles!!
Day 7
Add:
4 oz water
4 oz flour
Mix it up, cover it and store it in a warm area for another 6-12 hours.
It is now ready to use!! You can take some out for your first batch of goodies or put in the fridge to store until you are ready to use it.
When you are ready to make something, remove from the refrigerator, allow to sit at room temperature for a minimum of 4-6 hours(sometimes longer depending on the recipe)
Every week you will take your sourdough starter out and feed it. This is a super simple- add 4 oz of water and 4 oz of flour. I like to take mine out for a few hours before and after feeding it to allow it to ferment a bit as well.
What are you going to make first?
Do you want, in my honest opinion, the best Sourdough Bread recipe ever? Click here and check it out!
God Bless!
Amanda
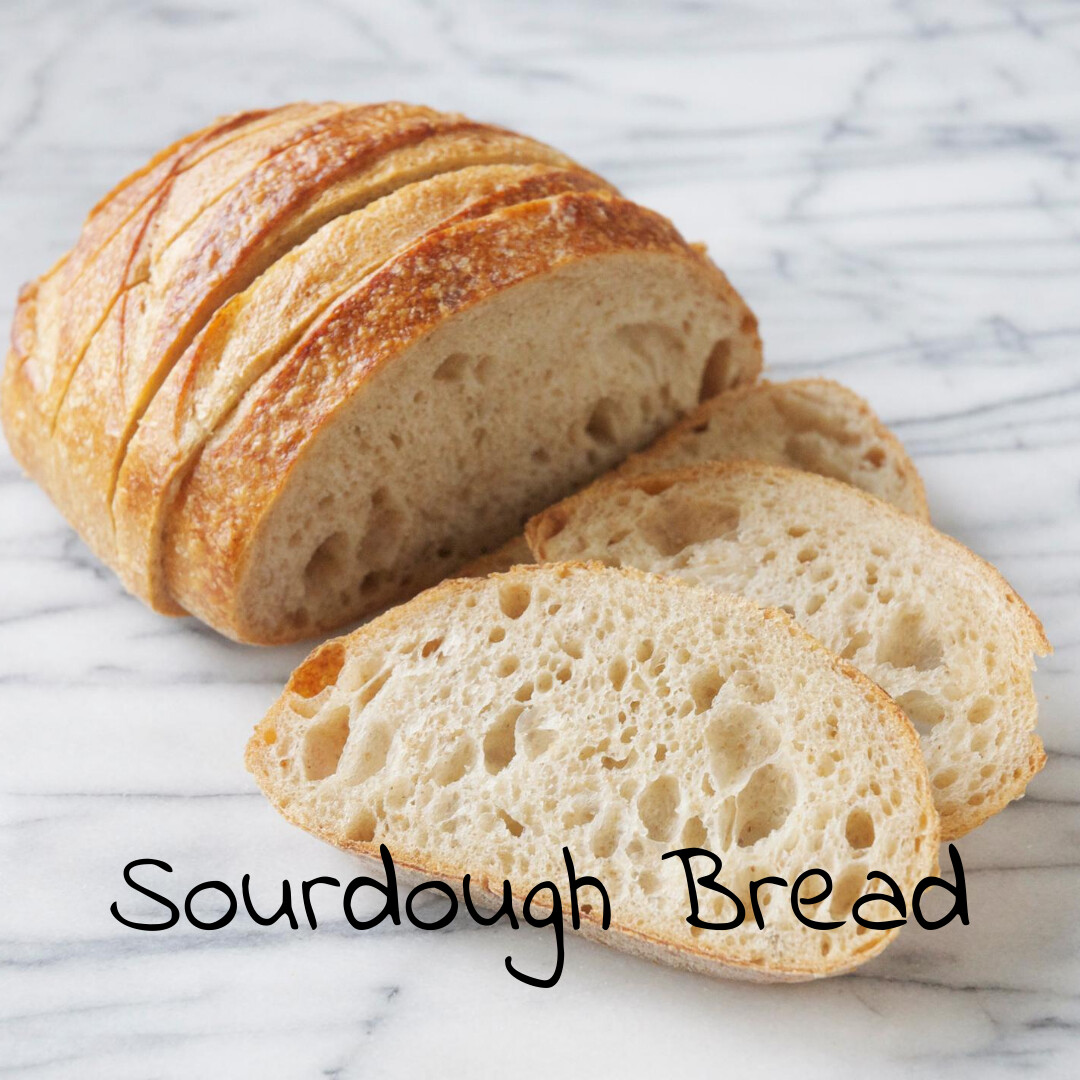
Sourdough Bread

You have made your starter and are ready to make your bread! Are you excited? I’m excited!!
So here we go…
What do you need:
Sourdough Starter
Purified water
Flour
Oil(I prefer olive but you could use coconut or vegetable oil)
Kosher or Himalayan salt
Vessel (banneton/wok/glass bowl) to use for the final rise
Dutch oven or ceramic casserole dish
Step One:
Making your sponge(new word for all the sourdough newbies!!) which is a preferment for your bread. You want to have it sit for at least a couple of hours or overnight.
Pour 3.5 oz of starter into a bowl. Add in 3.5 oz of purified water and mix well. Then fold in 3.5 oz flour. Cover and allow to sit for a few hours or overnight. This creates your sponge.
Step Two:
Add 8 oz of water and 1 Tbsp of olive oil to your sponge and whisk. Put the whisk away after this so you are not tempted to whisk in the following ingredients.
Add in 16 oz of flour and 1 ½ tsp of kosher salt. Use a wooden spoon handle to incorporate completely. Don’t forget to scrape the sides of the bowl down as you mix it.
At first, it seems too wet and then to dry but do not add any additional flour or water because these measurements are exact. Once it is mixed, cover the bowl and allow it to rise for 45 minutes.
Step Three:
Uncover your dough and give it a quick fold. You will want to make sure your fingers are wet so that it doesn’t stick to them. Folding the dough in quickly and in the same direction works the best so that it doesn’t stick to your fingers. If it does start to stick you can just wet your fingers again. Put it back in the bowl, cover and allow to rise for another 45 minutes.
Step Four:
Butter the vessel that you will use for the final rise. Once your timer goes off, you will take out from the bowl and do the final fold. Remember to add water to your fingers and fold the dough quickly. Once you are done, you will gently flip the dough into the vessel for the final 60-minute rise. Before you cover the dough, sprinkle it with flour so that it doesn’t stick to the towel. Preheat your oven to 430* F.
Step Five:
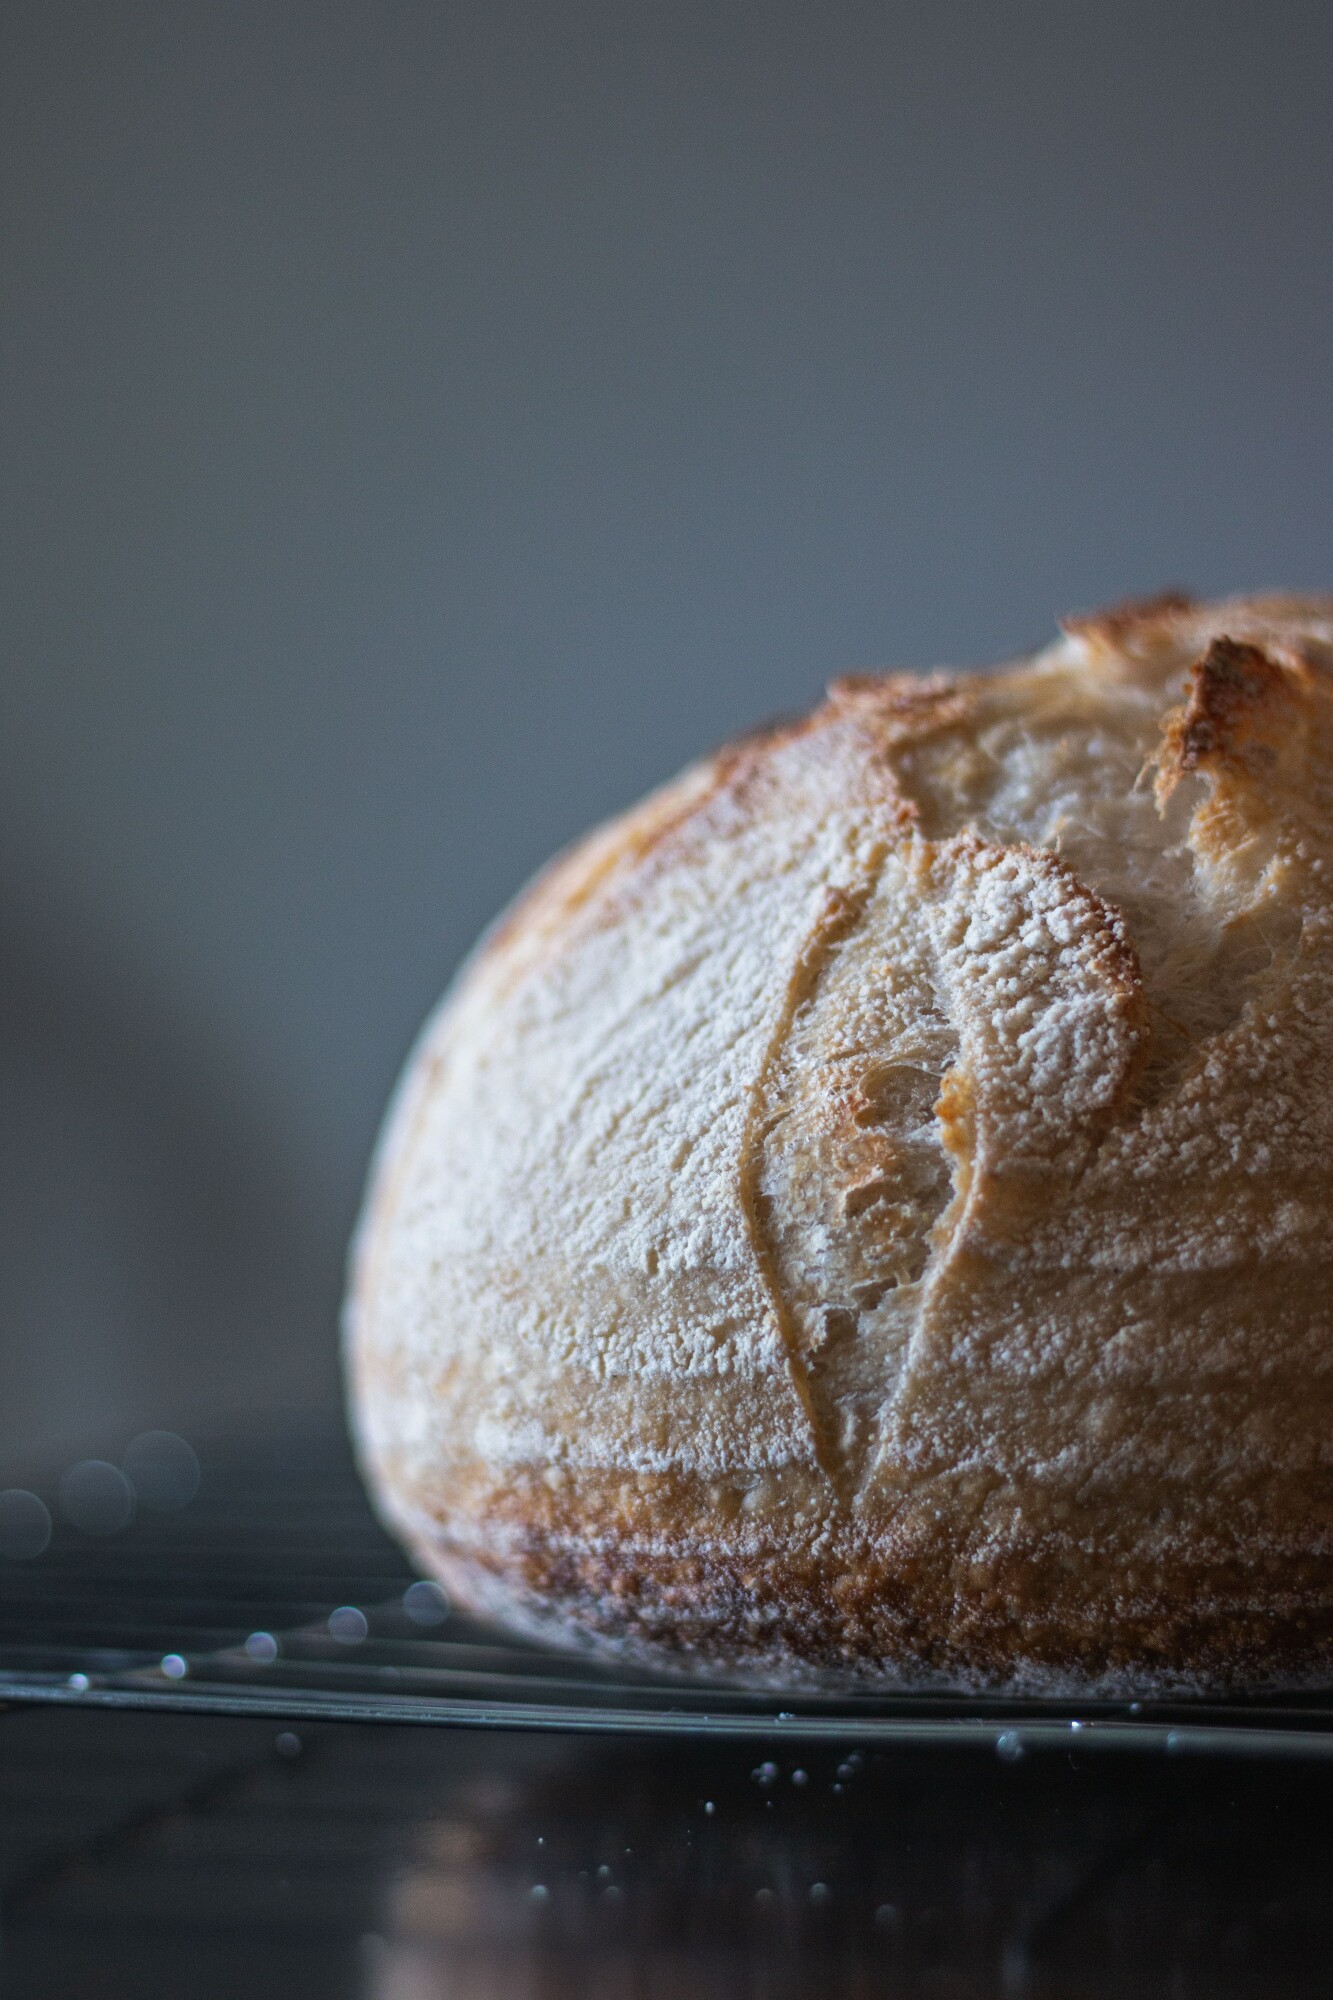
30 minutes into your dough rising, preheat your vessel. If you are using a dutch oven, you will need about 30 minutes to heat it. If you are using a casserole dish, it takes about 15 minutes. Put your baking dish into the oven for the allotted time before your 60-minute rise is finished. Once the dutch oven is preheated, remove it from the oven and gently flip your dough into the cast iron pot. Put the lid on the top and return it to the oven to bake for 30 minutes. Remove the lid and allow to bake uncovered for an additional 3-5 minutes.
Step Six:
Take the bread out of the oven and remove it from the dutch oven. Allow to cool and enjoy.
It is the best fresh out of the oven with a slab of butter...yum!!
Amanda

Amanda